Computers & Internet Blogs - OnToplist.com Blog Directory Blogging Fusion Blog Directory

Sunday, December 30, 2018

DESIGN MENU CARDS AND INVITATIONS IN MS PUBLISHER (EARN MONEY EASILY!)

HOW TO EARN MONEY BY DESIGNING MENU CARD AND INVITATIONS IN MS PUBLISHER APPLICATION


So you have visited pubs and restaurant. Have you seen their menu cards! Interestingly awesome isn't it ! It have the ambiance of the environment and beautifully designed to lure you to order the items mentioned in the cards.
  
In this blog article i am going to show you how to design a menu card like the one you saw in every bars,pubs and restaurants. Yes! you can design sitting it at your home at your 10 yrs old laptop or computer. What you will need to design -

(a) A computer/laptop with MS publisher
(b) A color printer or you can get it printed outside in cyber cafes
(c) Nothing else if you read till the end....

So here we go-

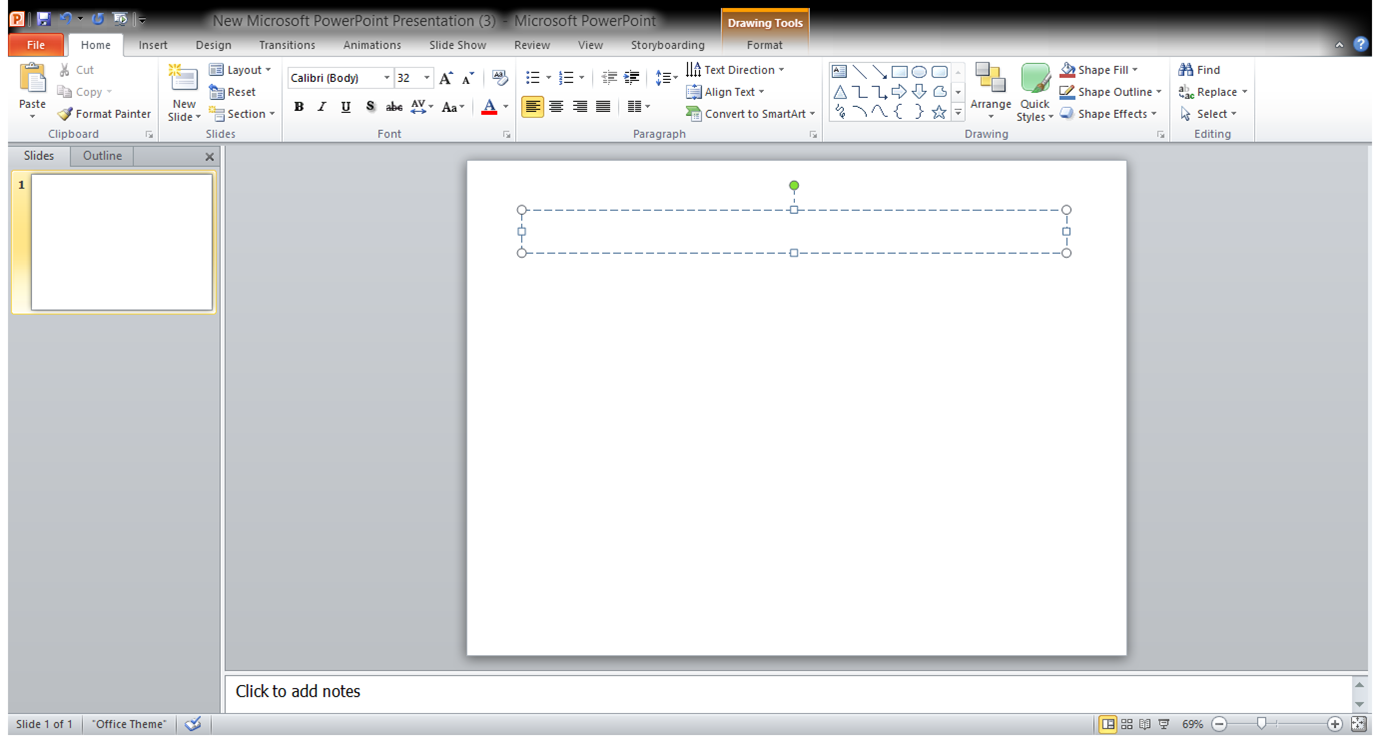
First step- right click your mouse and open your new publisher document

I am Designing a Menu card for the Bar/Pub


Now go to page design tab and select change background. You can either insert your selected image or you can change background color with solid filled colors or you can give texture color with the help of the background options.


Second Step- Now to give some stunning look we should paste some background picture.

I have copied a glass of wine and removed the original background of the glass.
Now double click on the picture and change the brightness and contrast of the picture so that it look like a watermark. 


You can see the picture after changing its contrast and brightness it look like a watermark for the page.

Now Insert a text box and write menu card in the box. Now choose your font size for the heading as well as font color.


You have created your first page of menu card, likely create other pages and as well as add some interesting facts about the items listed in menu card in the back page like trivia. Trivia is interesting facts about any item. You can create it too, see the image below..


Now get the all pages printed on a good paper, it may be a glossy or a good paper with greater GSM. Now put the pages into a good folder with tranparent leaflet. You have created a menu card for the pub. yipeee! ... Now you are a designer of cards.... learn more with this techniques subscribe to my you tube channel link is below..

Link for the channel to learn more about interesting facts..

Thank you for reading and watch the video about the same in my channel.


 Check my YouTube link below for designing:


Thumbnail       Logo      Menu cards     Create Gif images    Data Recovery     Take Screenshot 


DESIGN THUMBNAILS FOR YOUTUBE VIDEOS

HOW TO CREATE YOUR OWN DESIGNED THUMBNAILS LIKE OTHERS IN MS POWERPOINT NO PHOTOSHOP REQUIRED


WATCH FULL GUIDE VIDEO ON HOW TO CREATE THUMBNAIL


Are you surprised and wonder how the YouTubers have thumbnails on their Youtube videos. Here in this blog i will share you simple method to design your own thumbnails. It is as simple as eating a piece of cake. 

So here we go..............step by step.....

Step one to design thumbnail - Open your Microsoft PowerPoint application and select a new blank slide.

Draw a text box in the slide


Step one to design thumbnail : open your powerpoint window

Now choose your font style and size as per your style and taste. Now type the content you want in your thumbnail to attract the you tube watchers .

Add caption

Step two to design thumbnail- Now right click mouse on the text box and select the format shape option. Now choose there solid fill option and color your text box as per your choice.


Step two to design thumbnail : design the background and enter the text into the text box

This is how it looks when text box is colored. Edit it with your choices you can insert images and logo of your channel in the text box for more fancy looks. Here i am not doing more fancy ways
Just inserted my channel logo - Visit my channel


If you are satisfied with your thumbnail design than you can click with Ctrl key press on the text box as well as image .Now either you can group the image as one or directly right click on the mouse and select save as picture option. Now select the location where you want to save the thumbnail picture.
Save the file and you can edit and resize it with MS office 2010 and save. For youTube it is suggested to resize with 1280 x 720 px for full screen coverage in your video thumbnail. Now you can use the thumbnail on your youtube video in edit video option or while uploading your new youtube videos to attract more subscribers. Below link contain a detailed video of how to create thumbnail and subscribe for more interesting videos.

This is my how my designed thumbnail will look.

Final thumbnail designed


 Check my YouTube link below for designing:


Thumbnail       Logo      Menu cards     Create Gif images    Data Recovery     Take Screenshot 

CREATE GIF IMAGE USING POWERPOINT AND WONDERSHARE


HOW TO CREATE YOUR OWN GIF IMAGE AS WELL AS e-Invitations USING THIS PROCEDURE


We always wonder how the people make gif images sitting at their home and we always use to copy others gif images as well as videos. In this blog i am going to tell you how to create your own gif images or electronic invitation cards. No knowledge of any software application is required by you.
I am going to show you step by step creating your own gif images and you can make your well wishers surprised and overwhelmed.

So here we go-

First step to create gif image open up your Microsoft powerpoint application on your desktop

how to create gif image
First step to design gif image: open your powerpoint 
Second step to create gif image  is to open a blank new slide in the powerpoint (Note: It should be blank)

Third step to create gif image select the background of your gif image in the slide

how to create gif image
Third step to create gif image : Select the background of your gif image


Fourth step to create gif image is to design the slide with your character which you want to be displayed on your gif image:
Like for this blog i have created gif image for New year 2019 . I have inserted star shapes and Happy New text.
how to create gif image
Fourth step to create gif image : Design the slide and animate the things


Fifth step to create gif image is to animate the stars and text by going into animation section. Animation is very easy you can set stars to blink and text to appear and dance in wave like formation.

Sixth step is to switch on your screen recorder and start the power point animation.
 the video is shown below for your easy understanding


 Sixth step to create gif image is open Wondershare filmora software and edit the unwanted parts of your video by cropping

how to create gif image
Editing gif image

Edit the unwanted part of the video which you dont want to in your gif image and Click on export Export option opens up and ask you to save the file in which format you want to save .Select the gif image in the format option. chose your resolution size and destination folder.

how to create gif image
Exporting gif image 


Now click on Export to convert your video file to gif image. The file will be saved in the destination folder and your gif image is ready to use. Now send it to your loved ones and friend and enjoy!


Created Gif image

THIS IS THE GIF WHICH I CREATED ! YOU CAN CREATE IT!

Her you go watch my gif created. you can create more complex and interesting gif as well as videos with other formats using this procedure if you like my blog please do visit and you can subscribe my channel and subscribe for notifications also in my youtube channel computer solutions